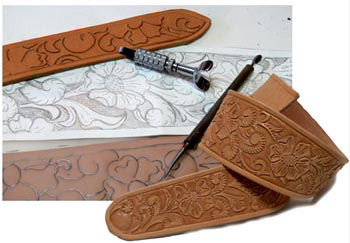
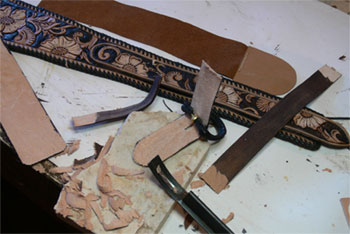
"Some"
of the steps involved in making custom strap # 64.
Those are only a few steps in the making of this straps, just a glimpse at part of the process.
 |
 |
After Sketching
a concept to size. The design is then traced on tracing paper before
been transferred onto the moist leather with the tool pictured. It is
then carved with a swivel knife, also pictured and embossed |
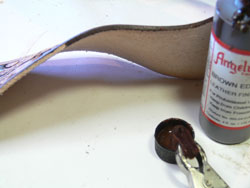
Once the strap is carved and embossed it is hand painted with a dye
using an artist brush.and antiqued (again a whole bunch of steps have
been omitted). Here you can see me applying an edge dye specially formulated for the purpose. It makes for a good finish. |
 |
 |
|
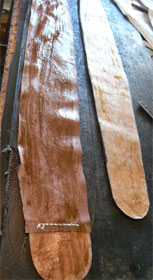
The
lining is ready to be glued, complete with Kangaroo leather button holes
reinforcement tips. |
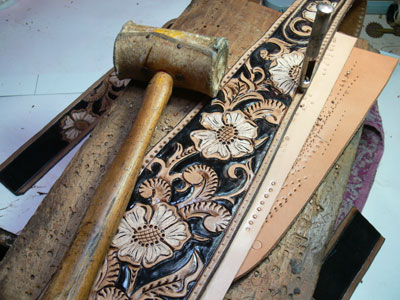
The edge
lacing holes are marked and punched out, one at a time. |
 |
 |
| An
important step in all good leatherwork here. All the leather parts that need thinning down for construction reasons and a proper fit get "skived" down to the right thickness of leather. I use a thickness gauge to give me an accurate reading on all button holes. |
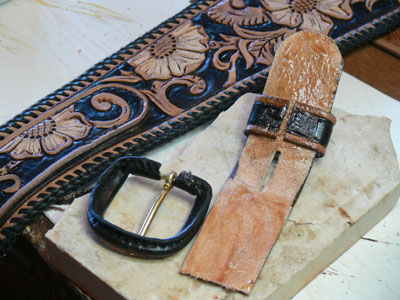
In this
picture, the main part of the strap is now complete. |
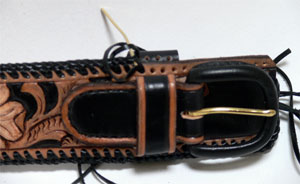 |
This is the
tail end of the strap. |
